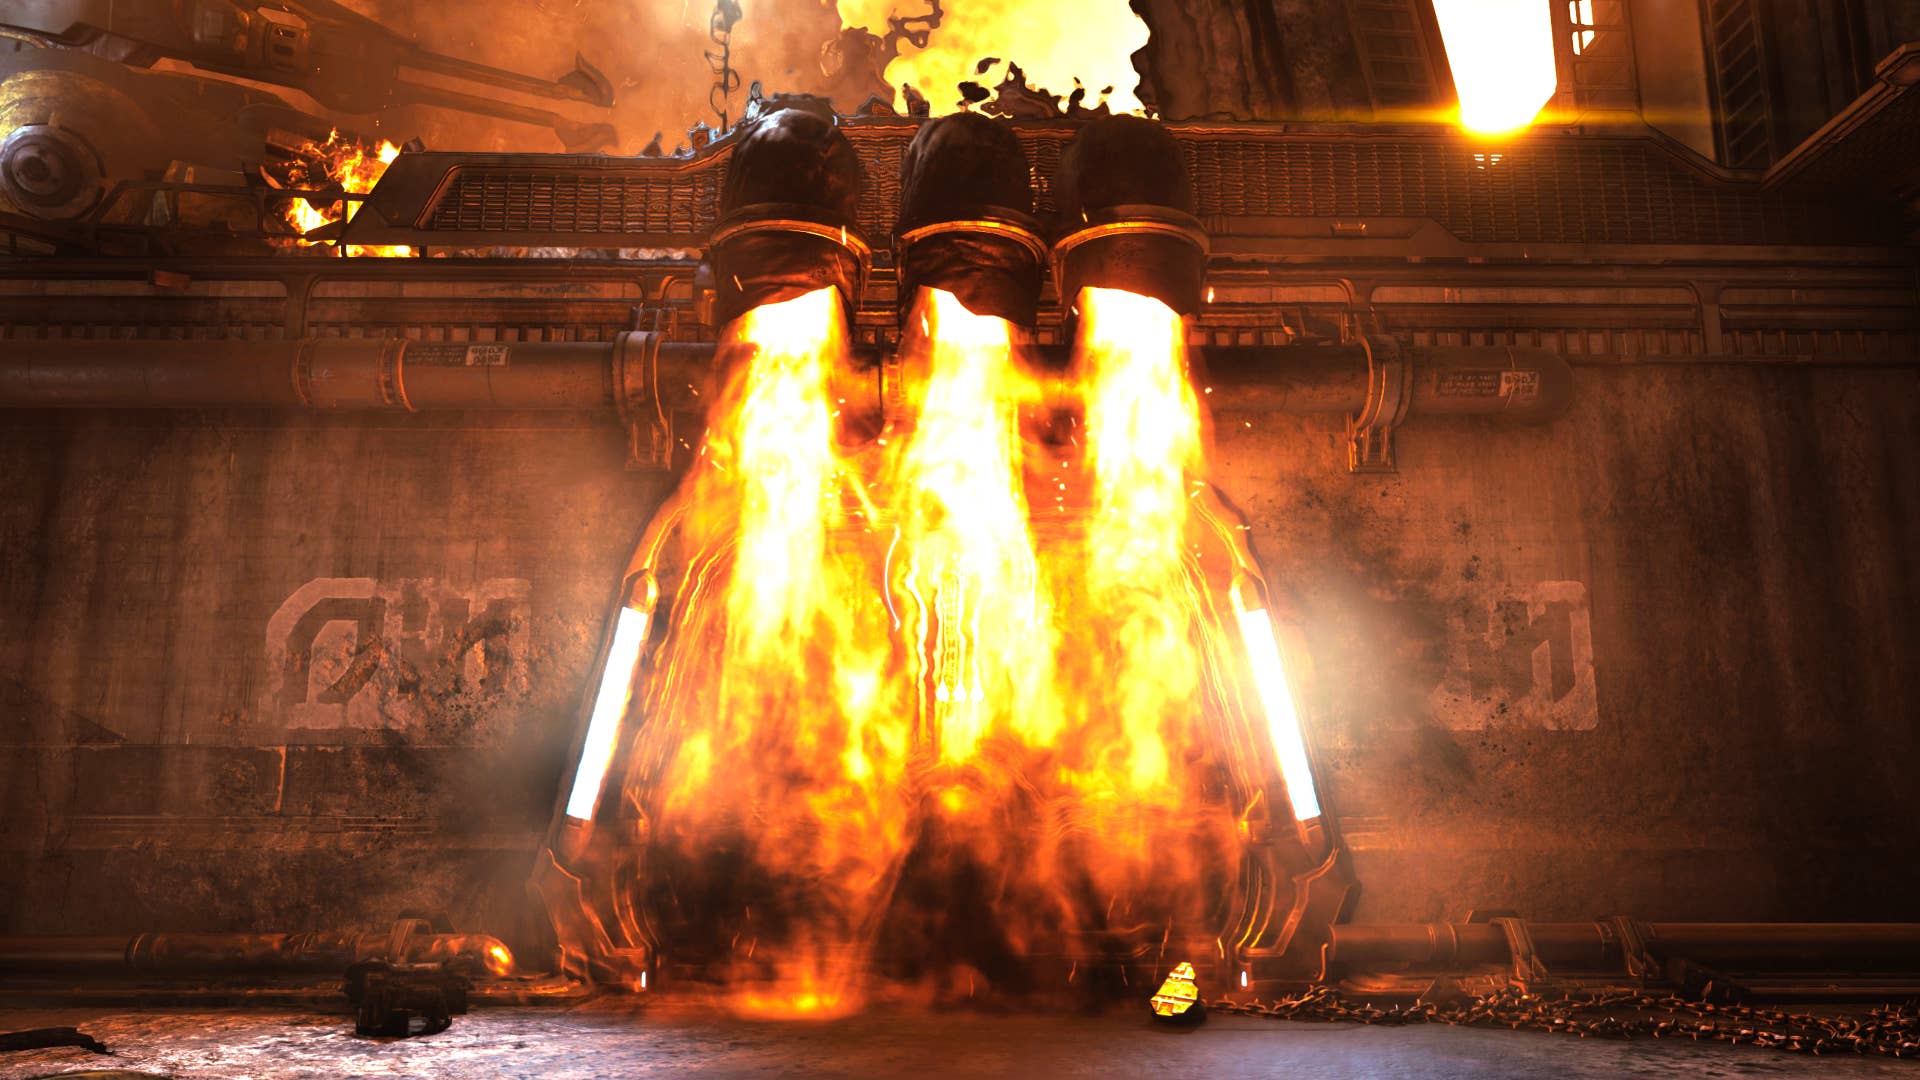
Looking for all the Hebeth secrets in Chapter 2 of Doom: The Dark Ages? Chapter 2 sees the Doom Slayer bringing his considerable power to the assaulted planet of Hebeth, where you'll be forced to contend with more powerful demonic enemies like the Stone Imp and Mancubus - as well as a greater number of more carefully hidden secrets than in Chapter 1. At RPS we've scoured every hellish cubic inch of Doom: The Dark Ages's second chapter to bring you the most comprehensive and concise walkthrough of Hebeth and all its secret areas and hidden collectible locations. Read on to find all 9 secrets in Chapter 2 ! All Hebeth secrets (Chapter 2) Here's the full list of all 9 secret locations in Hebeth, Chapter 2 of Doom: The Dark Ages, along with a bonus hidden area housing a Codex pickup that's easily missed: You can consult the map above for a simple step-by-step secrets guide which will ensure you don't miss a thing as you carve a path of demonic destruction through the planet of Hebeth.
If you're stuck on a particular secret area, keep reading as we reveal the puzzle solutions for all 9 secrets in Hebeth. Secret 1: Breakable door in first room (Life Sigil) Location: Immediately on your left as you enter the first indoor room. Solution: Shield Charge the breakable door.

Reward: Life Sigil The first secret of Chapter 2 is easy to run past without noticing. From the chapter start, cut through the demons outside with your new Shield Saw until you reach your first indoor room. Immediately on your left as you enter the room, there is a breakable metal door beside some stacked crates.
You may want to deal with the demons in your room first, but after that you can Shield Charge the breakable door to open it. Once inside, kill the cultists and follow the path around the right to collect your Life Sigil reward. Secret 2: Hidden hole in the wall (Toy) Location: Up the two sets of stairs in the next room.
Solution: Turn right at the top of the steps and jump into the hole in the wall. Reward: "Imp Stalker" Toy Once you've cleared the first interior room of enemies (and collected Secret 1), head through the door to the next room. Kill the next few demons and go up the two sets of stairs in front of you.
Then, instead of following the main path to the left, turn right around and you'll see a hole in the wall above some crates. Use the crates to reach the hole, and drop down to the secret area below where you can pick up the Imp Stalker Demon Toy. Just beyond, you'll find a superheated metal door you can break with the Shield Saw throw.
This path takes you back to the base of the two sets of stairs where you can continue your playthrough. Bonus 1: "Hebeth" Codex Location: Opposite 2nd mandatory superheated metal door. Solution: Jump over the crates opposite the door.
Reward: "Hebeth" Codex While not listed as a secret, this area is well hidden and contains a Codex entry collectible, so we thought it worth including in our walkthrough. Proceed down the main path beyond the first two secrets, and after you cross the upper level bridge and drop down into the next room, you'll find another superheated metal door to break with your Shield Saw. Once you're at this door, turn around and jump over the crates opposite.
Around the corner is the "Hebeth" Codex entry. Secret 3: Climbable wall beside statue (Gold) Location: Through the door by the Sentinel Shrine, on your right. Solution: Turn right at the statue and scale the climbable wall.
Reward: 5x Gold Secret 3 of Hebeth is found near the Sentinel Shrine, which you'll find a short way into the weapons facility. Head through the door next to the Sentinel Shrine and turn right. As you walk forward you'll see a large statue, and a doorway locked by a red barrier.
Look above the barrier and you'll see a climbable wall. Scale it to reach a small secret vent shaft area with 5x Gold and a Stone Imp to kill. Secret 4: Breakable door beyond blue forcefield (Gold) Location: A short distance beyond the large blue forcefield.
Solution: Shield Charge the breakable door in the adjoining corridor. Reward: 5x Gold The next secret also gives you a measly 5x Gold as a reward, but hey, we're after no less than 100% completion here! Follow the main path through the doors beyond the Sentinel Shrine, and you'll find a room with Stone Imps and a large blue forcefield. Head through the hole in the wall in this room where the Stone Imps emerged, and on your left you'll see a breakable door you can target with a Shield Charge.
Just beyond is a tiny secret area with the 5x Gold you so crave. Secret 5: Breakable wall past Blue Keycard Door (Life Sigil, Gold) Location: After dropping down the hole beyond the Blue Keycard Door. Solution: Shield Charge the breakable wall in the next room.
Reward: Life Sigil, 5x Gold Hebeth's 5th secret area is located beyond the Blue Keycard door near the Sentinel Shrine, so keep following the objective until that door is open. Drop down the hole in the floor beyond, and clear the demons in this room. Then, in the adjoining room, turn left at the large helmet hologram, and you'll see a large vent shaft opening which you can Shield Charge through.
Inside this shaft you'll find 5x Gold and a Life Sigil, as well as another Shield Charge-able exit that takes you back out into the first room again. Secret 6: Door blocked by flames (Life Sigil, Gold) Location: Outside, near the Titan fighting the Atlan. Solution: Interact with the valve inside the opposite room.
Reward: Life Sigil, 9x Gold By far the most confusing secret in Hebeth is the one blocked by a door covered in ever-spewing flames. You'll find this secret shortly after you exit the facility and jump down a couple of platforms outside, not far from where a gigantic battle is taking place between a Titan and an Atlan. We cover this puzzle in more detail in our guide on how to get past the Flaming Door in Doom: The Dark Ages ; but we'll briefly summarise the solution below.
To solve this puzzle and access the secret, stand in the walkway between the flaming door and the area where the Titan and Atlan are fighting. Look upwards at the left-hand wall and you'll see a superheated metal door that you can break with a Shield Saw throw. Climb up into this new room, and drop down to the lower level.
By the hole in the wall that faces the flaming door, there is a valve that you can interact with to stop the flames. Once that's done, head through the door behind the flames and you'll find the secret area containing 9x Gold, a Life Sigil, and a fight with one of the chapter's tougher demons. Secret 7: Door by encounter near Titan (Gold) Location: In the outside area near the Titan and the flaming door.
Solution: Defeat all demons to open the door. Reward: 8x Gold Secret 7 in Chapter 2 is hardly worth calling a secret: it's a fairly obvious door on the left-hand side of the arena in the same area as you find the Titan and the flaming door outside. Simply defeat all the demons in this area to unlock the door and gain the 8x Gold within.
Secret 8: Hole in wall by 2nd Sentinel Shrine (Gold) Location: In the room with the Green Flesh Node. Solution: Go through the hole in the wall by the Sentinel Shrine. Reward: 50x Gold This secret area is located inside an unmissable room beyond the next "Point Of No Return".
You'll know when you've found the room, because it contains a Green Flesh Node and a second Sentinel Shrine. As you enter this room you'll be shown a tutorial on the Shield Recall Jump, which allows you to target Green Flesh Nodes to traverse large gaps. Cross the gap, then head through the hole in the wall next to the window, the one surrounded by all sorts of fleshy horrible-ness.
Follow this path and it will take you to an upper vent shaft that overlooks the Sentinel Shrine platform. At the end of the path is a crate which you can melee attack to receive a mighty 50x Gold for your trouble. Secret 9: Vent near Green Flesh Node (Skin, Gold) Location: In the room with the Green Flesh Node.
Solution: Climb the stacked crates on the room's upper level. Reward: "Nightmare" Skin for Shredder, 8x Gold The final secret of Chapter 2 is right next to the previous one. Once you've reached that same Green Flesh Node room, use it to hop across to the platform with the Sentinel Shrine, and then climb the wall next to the Shrine.
Once you're up there, turn left and you'll see a small stack of crates. Climb the crates, and at the top you can hop into a secret vent shaft above the room. Follow the path inside the vent to find 8x Gold.
At the end you'll drop down into a room where you can pick up the "Nightmare" Skin for your Shredder. Bear in mind the door in front will open as you drop down, starting a fight with various demons - so be prepared! That's the full list of all the secrets you can discover in Hebeth, Chapter 2 of Doom: The Dark Ages. If you missed any hidden areas in the previous level, check out our Chapter 1 secrets page; or soldier on to Chapter 4 secrets (seeing as Chapter 3 doesn't have any secrets to find!).
.
Entertainment

Doom: The Dark Ages Chapter 2 secrets

Looking for all the Hebeth secrets in Chapter 2 of Doom: The Dark Ages? Chapter 2 sees the Doom Slayer bringing his considerable power to the assaulted planet of Hebeth, where you'll be forced to contend with more powerful demonic enemies like the Stone Imp and Mancubus - as well as a greater number of more carefully hidden secrets than in Chapter 1.At RPS we've scoured every hellish cubic inch of Doom: The Dark Ages's second chapter to bring you the most comprehensive and concise walkthrough of Hebeth and all its secret areas and hidden collectible locations. Read on to find all 9 secrets in Chapter 2! Read more


