
Introduction
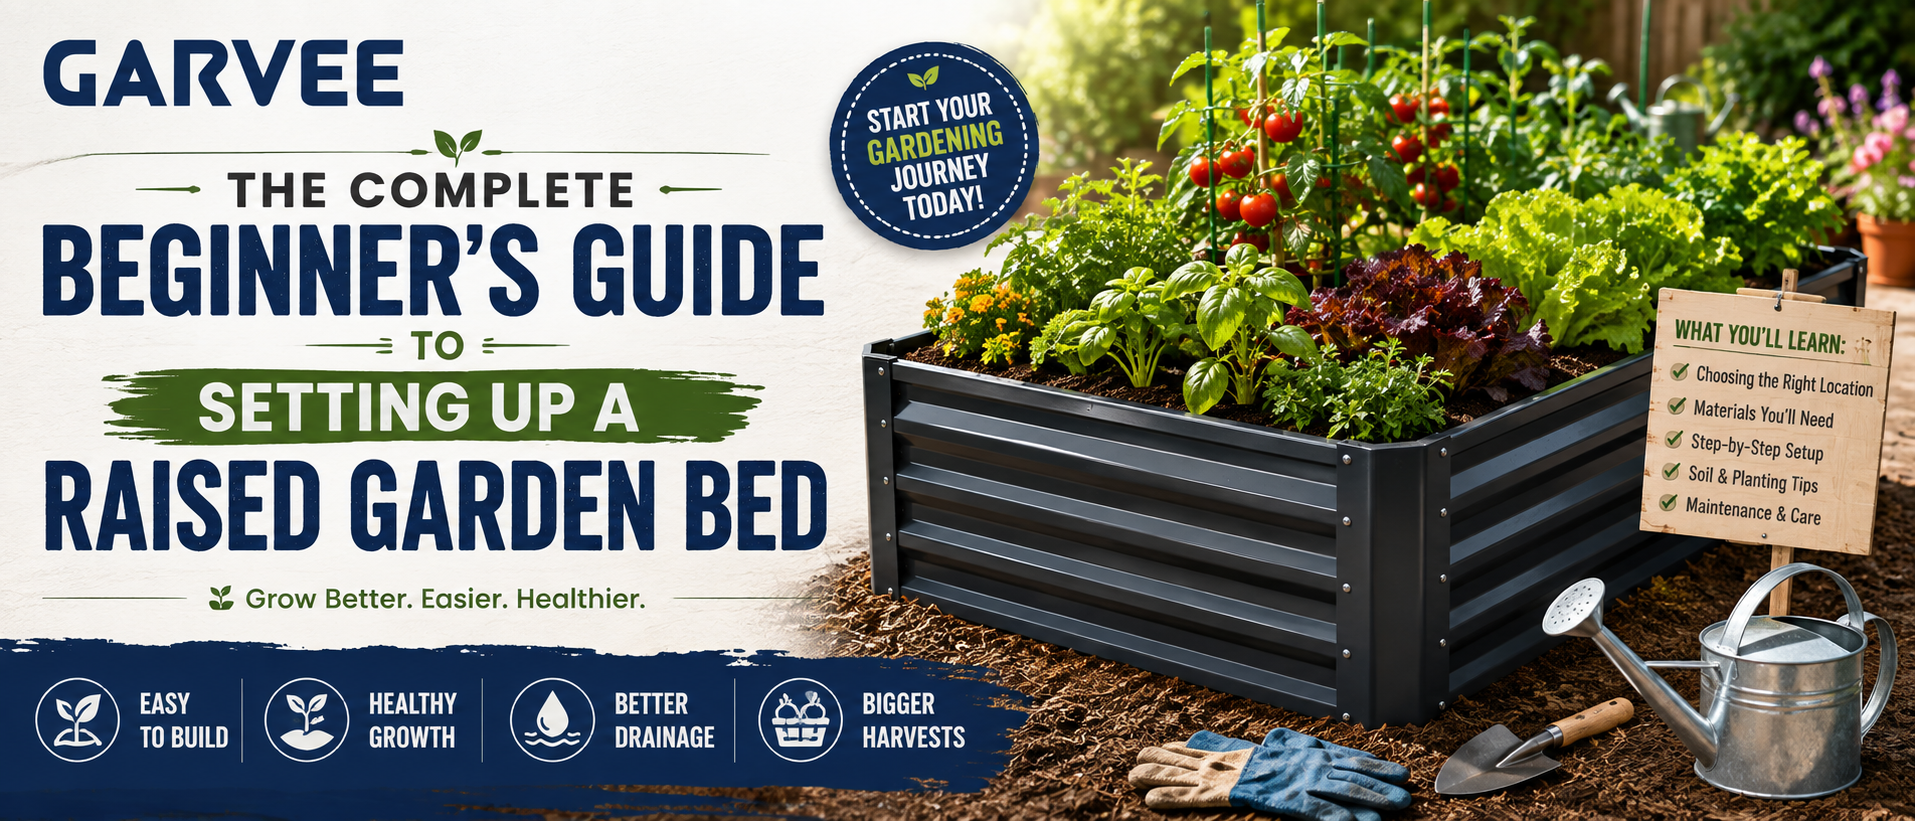
🌿 Build Your Garden!So you've decided to try growing your own food. Good for you. Setting up a raised garden bed is honestly one of the best decisions a new gardener can make, and I say that after watching more than a few friends give up on in-ground plots because of rocky soil, drainage nightmares, or a back that just wasn't having it anymore. A raised bed solves most of those headaches before they even start. Garvee offers practical gardening products to help make setting up and maintaining your garden easier.
This guide walks you through everything, from picking a spot to filling it with the right soil to keeping it watered without losing your mind. No fluff, no jargon you need a dictionary for. Just the practical stuff you actually need to know.
Why Choose a Raised Garden Bed in the First Place
Let's get the obvious question out of the way. Why not just dig a hole in the yard and plant there?You can, sure. But a raised planter bed gives you control. Control over soil quality, drainage, weeds, and even who gets to crawl into your lettuce (looking at you, slugs). Raised beds warm up faster in spring too, which means an earlier start to the growing season. If your yard has clay soil, or worse, no real soil at all, a raised bed lets you skip that problem entirely.
There's also the ergonomic angle. Bad knees? Bad back? A taller bed means less bending. It's a small thing until it isn't.
Choosing the Right Location
Before you build anything, walk your yard and actually watch it for a day. Most vegetables want six to eight hours of direct sun. Less than that and you'll end up with leggy, disappointed plants.A few things to check:
- Sun exposure across the whole day, not just a quick glance at noon
- Access to a water source (dragging a hose fifty feet gets old fast)
- Level ground, or ground you're willing to level
- Distance from large trees, since roots will absolutely sneak in and steal nutrients
DIY Raised Garden Bed: Materials and Basic Build
This is where most beginners get stuck, staring at a hardware store aisle wondering what wood won't poison their tomatoes. Here's the short version.Untreated cedar or redwood is the gold standard. Naturally rot resistant, doesn't need chemical treatment, and lasts years. It costs more, yes, but you're not rebuilding it every other season.
Pine is the budget option. Cheaper, works fine, just breaks down faster, maybe four to six years depending on your climate.
Avoid pressure treated lumber unless it's specifically rated as safe for vegetable gardens. Older treated wood contained arsenic compounds. Not something you want leaching into your dinner.
Other materials worth considering:
- Galvanized metal beds, which look sleek and last a long time
- Concrete blocks, cheap and sturdy, though they can raise soil pH over time
- Composite boards, low maintenance but pricier
- Cut your boards to size (a common starter size is 4 feet by 8 feet)
- Screw the corners together, or use corner brackets for extra stability
- Level your ground and lay down landscape fabric or cardboard to block weeds
- Set the frame in place
- Fill with soil
That's genuinely most of it. People overcomplicate this step constantly.
Raised Garden Bed Depth: How Deep Should You Go
This question comes up more than almost anything else, and the answer depends on what you're planting.
For most vegetables, 12 inches is the sweet spot. It gives roots enough room to breathe while keeping soil costs reasonable. Shallow rooted crops like lettuce, spinach, and herbs can get by with as little as 6 to 8 inches if you're tight on materials or budget.
But if you're dreaming of carrots, potatoes, or anything with a deep taproot, aim for 18 inches or more. Tomatoes also appreciate the extra depth since their root systems spread wide and deep once they get going.
One thing beginners miss: raised garden bed depth matters less when the bed sits on top of decent native soil, since roots can grow down into the ground below. If you're placing your bed over a patio, concrete, or compacted clay, depth becomes non negotiable.
Filling It Right: Raised Bed Soil Basics
Here's where a lot of first timers go wrong. They fill the whole bed with bagged topsoil from the garden center and wonder why nothing grows well. Topsoil alone is often too dense and drains poorly.
A better approach, and one that most experienced growers swear by, is a soil mix along these lines:
- 40% high quality topsoil
- 40% compost (this is your nutrient powerhouse)
- 20% aeration material like perlite, vermiculite, or coarse sand
This blend gives you good drainage, decent water retention, and enough organic matter to actually feed your plants.
If you want to go the organic raised bed soil route, and honestly I'd recommend it if you're growing food you plan to eat, look for certified organic compost and avoid synthetic fertilizers mixed into the base soil. Many garden centers now sell pre-blended organic raised bed soil specifically formulated for vegetable beds. It costs a bit more upfront but saves you from guessing at ratios.
Don't skimp on the compost. It's tempting to cut costs here, but compost is doing most of the heavy lifting in terms of feeding your soil's microbial life, which in turn feeds your plants.
Setting Up Raised Bed Irrigation
Watering by hand with a hose works fine when you're starting out, but it gets old, and inconsistent watering is one of the top reasons beginner gardens struggle.
A simple drip irrigation system is worth the investment. Here's why raised bed irrigation matters so much in this setup specifically: raised beds drain faster than in-ground soil, which is great for preventing root rot but means they also dry out faster, especially in summer heat.
Options to consider:
- Drip lines: Deliver water directly to the soil at the root zone, minimizing waste and reducing disease from wet foliage
- Soaker hoses: Cheaper and easier to install, though slightly less precise
- Simple timers: Attach one to your spigot and you can automate watering even when you forget, or when you're traveling
As a general rule, raised beds need about 1 to 1.5 inches of water per week, more during hot spells. Sticking a finger two inches into the soil is still the easiest way to check. If it's dry at that depth, water.
Feeding Your Plants: Raised Bed Fertilizer Tips
Even with great soil, vegetables are heavy feeders and will deplete nutrients over a growing season. This is where raised bed fertilizer comes into play.
At planting time, mix in a balanced organic fertilizer, something like a 4-4-4 or 5-5-5 NPK ratio, into the top few inches of soil. This gives young plants a steady, gentle nutrient supply without the risk of burning roots the way some synthetic fertilizers can.
As the season progresses:
- Leafy greens benefit from nitrogen rich feeds every few weeks
- Fruiting plants like tomatoes and peppers do better with a fertilizer higher in phosphorus and potassium once flowering starts
- Compost tea is a gentle, low risk way to give plants a mid-season boost
Avoid over-fertilizing. More is not better here. Excess nitrogen especially can give you gorgeous leafy plants with almost no fruit, which is frustrating when all you wanted was tomatoes.
Beginner Vegetable Gardening: What to Plant First
If this is your first attempt at beginner vegetable gardening, start simple. Some crops are far more forgiving than others.
Easy starters include:
- Lettuce and other leafy greens
- Radishes (ready to harvest in about a month)
- Bush beans
- Zucchini and summer squash
- Cherry tomatoes
Hold off on finicky crops like cauliflower or artichokes until you've got a season or two under your belt. There's no shame in starting small. A raised bed with a handful of thriving plants beats a sprawling garden full of struggling ones.
Spacing matters too. Overcrowding is probably the single most common beginner mistake. Follow the spacing guidelines on seed packets, and when in doubt, give plants a bit more room than you think they need.
Final Thoughts
Setting up a raised garden bed isn't complicated once you break it into pieces. Pick a sunny spot, build or buy a sturdy frame, get the depth right for what you're planting, fill it with quality organic raised bed soil, and set up a reliable watering system. From there, it's mostly about patience and paying attention. Looking for reliable gardening essentials? Check out Garvee for practical tools and products to help make your gardening projects easier.
Your first season won't be perfect. Something will bolt too early, a squirrel will steal a tomato right before you were going to pick it, that's just gardening. But there's a real satisfaction in walking outside and pulling dinner straight out of a bed you built yourself. Setting up a raised garden bed is a small project with a genuinely large payoff, and once you've got one going, you'll probably find yourself planning where to put the next.
🌿 Build Your Garden!
Explore Newsbuck for more exclusive deals and important updates. We are your go-to source for all the news and trending stories across fashion, politics, health, entertainment and much more!
Read Our More Blogs
What Size TV Do You Actually Need? A Room-by-Room Guide
How Online Outlet Shopping Helps You Save Big Without Compromising On Quality
How Online Game Marketplaces Work (Explained Simply)
Frequently Asked Questions
1. How much does it cost to build a raised garden bed?
A basic DIY raised garden bed using pine lumber can cost anywhere from $50 to $150 depending on size, not including soil. Cedar builds run higher, often $150 to $300. Soil is usually the biggest ongoing cost, especially if you're filling a deep bed from scratch.
2. Can I put a raised garden bed directly on grass?
Yes, and many gardeners prefer it. Just lay down cardboard or landscape fabric first to smother the grass and weeds underneath before adding soil. The grass will break down naturally over time and add organic matter to your soil.
3. How often should I replace the soil in a raised bed?
You don't need to replace it entirely each year. Top off with a few inches of fresh compost annually to replenish nutrients. A full soil refresh is usually only needed every three to five years, or if you notice persistent drainage or pest issues.